Espresso 101: How to Make the Perfect Shot in 3 easy steps

Even those who aren't coffee aficionados have had their fair share of espresso, even if they didn't realize it. An espresso shot is the base of most favorite coffee drinks, like lattes and mochas.
Even if you love espresso, making it for yourself is an entirely different story. It's not as easy as you might think -- you've got to learn espresso 101.
The next time you're in your favorite coffee shop, watch the barista closely. There's a lot that goes into the perfect shot of espresso. Without getting the steps correct, you could end up with a very disappointing first sip.
Ready to learn how to do it yourself? Read on to learn espresso 101: how you can make the perfect shot.
Espressos 101: Making The Perfect Shot
Step 1: Grind Your Coffee Beans
No pre-ground coffee here. If you really want a fresh taste, you'll need to grind the coffee beans yourself. If you're a daily coffee drinker, grind new beans every morning for the best experience.
One of the most important things of grinding your espresso is getting the texture correct. It takes some practice to get down, so allow some room for error when you're grinding for the first time.
If your coffee is too fine, the espresso will taste burnt. If it's too coarse, though, the water will move through the beans too fast, and your shot will be watery.
You'll probably need to play around a bit with your grinder to find the right consistency for you. A good rule of thumb is to shoot for a texture like granulated sugar.
Another thing that can have an effect on your taste is how much coffee you put in the machine. Try 8-10 grams for a single shot, or 14-18 for a double shot. The exact measurements depend on your machine, so double check before you dose.
While you're preparing the beans, run water through the portafilter before you add the espresso. This is called a "blank shot" and it helps to make sure that you get an even shot temperature.
Step 2: Tamp
Imagine your office coffee maker. When you make a regular pot of coffee, you scoop in some pre-ground coffee, add the right amount of water, and let the machine do its thing. Once you've added the coffee, you probably don't think about how it's distributed in the filter.
You can't do that with an espresso shot.
A key part of espresso 101: if you really want to make a great shot, you need to pay attention to just how you add the coffee grinds. We'll explain why.
You want to tamp down the espresso after you add it to the machine. This helps to make sure that you get a balanced shot since water will seep evenly through the ground beans.
There's a proper way to do this. First, make sure you've got the right materials. You should have a tamper that fits in your portafilter. It's also helpful to have a scale to figure out how hard you need to press, but this isn't as necessary.
Think back to geometry class and hold your arm perpendicular to the machine and apply about thirty pounds of pressure. If you don't have a scale to figure out how hard you're pressing, press down until the tamper stops moving.
If it feels like the grinds have started to resist you a bit, you've done it right.
If you haven't pressed hard enough, water will go through the beans too quickly, leaving you with a shot that's bitter and thin. When in doubt, it's better to press too hard. Make sure you get the edges as well!
Step 3: Extraction
The best part of espresso 101 -- seeing the results of all your careful preparation. Use a watch or a timer for this step. The ideal brewing time is between twenty to thirty seconds, so shoot for somewhere in that window.
Put your portafilter in place, preheat your cup, and place it in the proper spot under your machine. Then you can start the pull. (You might also hear it called a pour or an extraction.)
The volume of water is easy to remember -- one ounce for one shot, two for a double. Once you've reached the right level, check your watch.
Did the shot come out too quickly? Your tamp isn't firm enough. Next time, make sure you press even harder before you brew.
Is it taking too long? You might have ground your coffee too long, creating a very fine texture.
This is why learning to make the perfect espresso 101 takes time. Even if you don't pour a flawless shot the first time, with practice you'll be able to do it in your sleep.
Espresso 101: The Perfect Shot
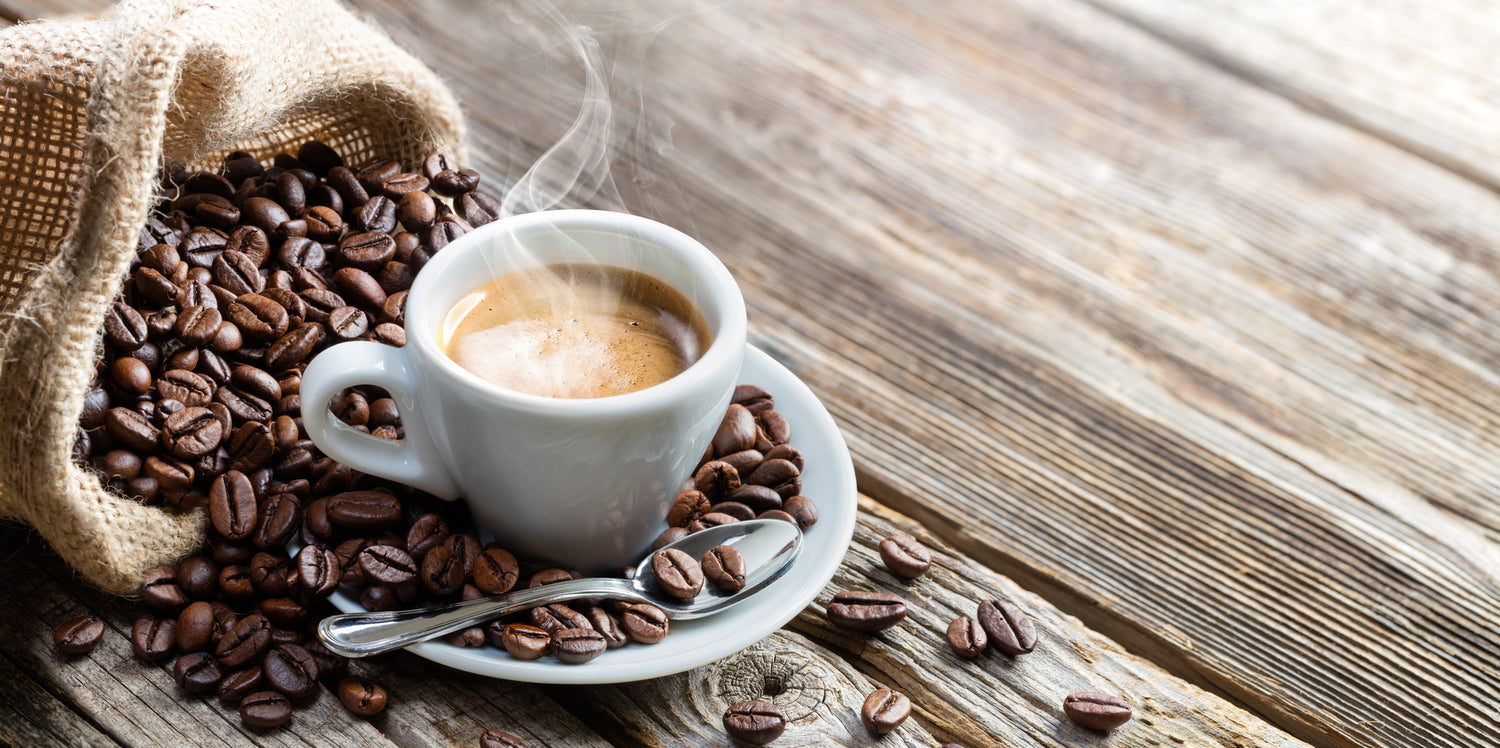
Before you take a sip, you'll be able to know if you've poured a great shot. You want to see a rich, dark brew with a light, golden colored "crema" (foam) on top.
The crema will be the best indicator of the quality of your espresso shot. If your shot is over-extracted, the crema will look dark and patchy.
If it was under-extracted, on the other hand, it will be very thin and pale. The color of your brew will also be lighter, which is another hint that it probably won't have the smooth taste that you're looking for.
Have A Great Espresso Anywhere
As you can see, creating the perfect espresso takes a lot of work. Hopefully, with our espresso 101 guide, you're well on your way to pulling the perfect espresso shot every time.
If you want to practice your newfound espresso skills, but don't have the right machine, get espresso that tastes like it comes straight from Italy with one of our manual espresso machines. You can be a professional barista right in your own home.
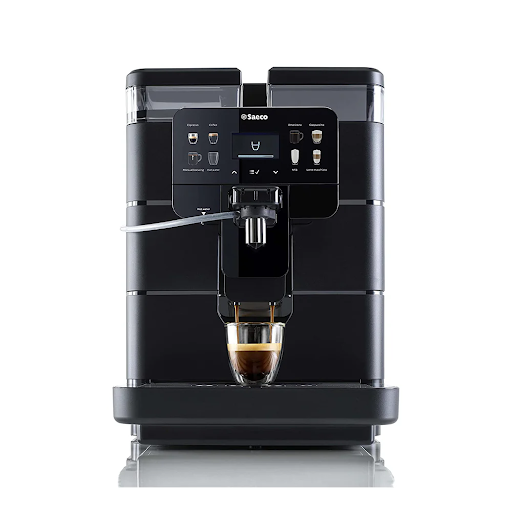
Making the perfect shot too much work? Don't worry -- you can still make your espresso. There are fully automatic espresso machines, too. They do all of the work for you so that you can have the perfect shot without any fuss.
You can still brag about knowing how to make the perfect shot, but you won't have to worry about things like your tamp pressure before you've had your caffeine.
Get your fully automatic espresso machine here.


When I was reading your article the quotation"Grind Your Coffee Beans" is the best informarion for people.Thanks for sharing your idea.
Good tutorial and very useful, thanks Luciano.
Hi, i’m Yudi Permana (1922520004), please visit my website at https://www.atmaluhur.ac.id/